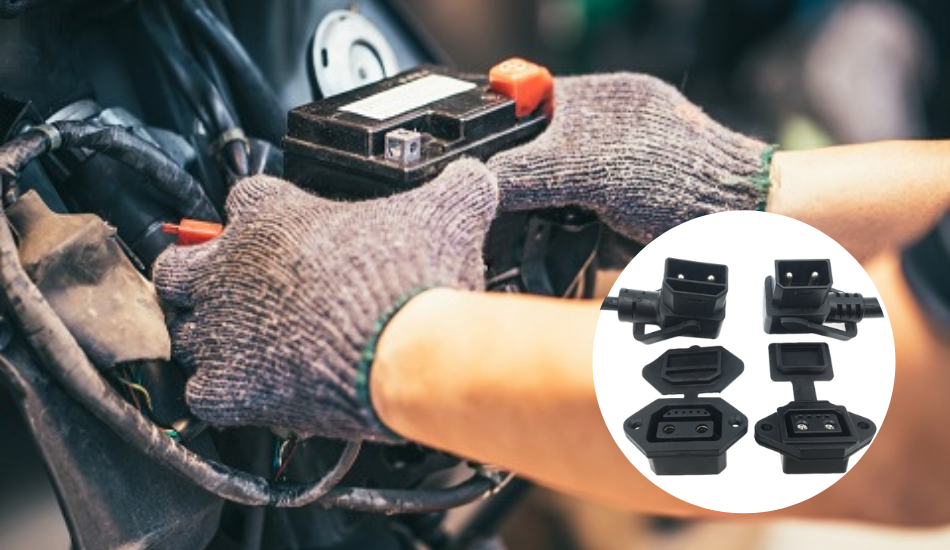
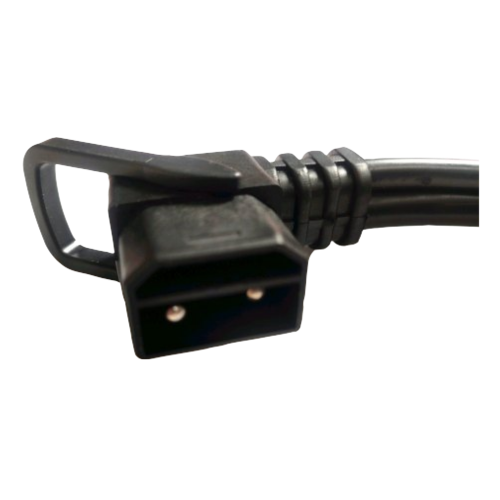
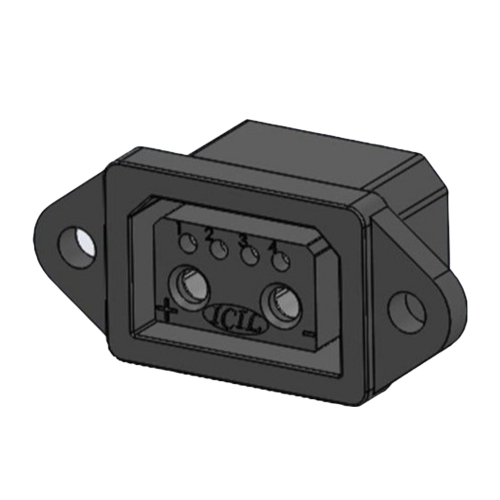
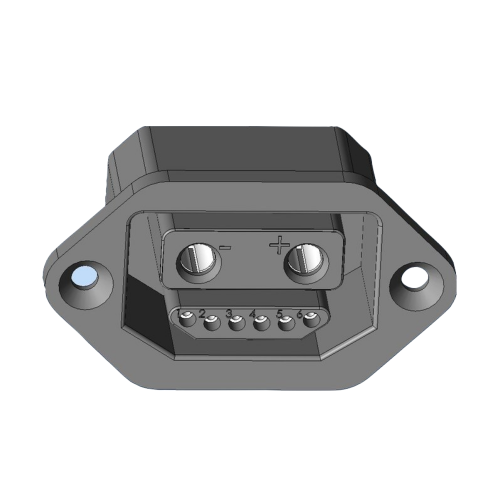
There are many people using e-bikes who use the connectors as on/off and in this case, the connector will need to be more sturdy and robust because it will be plugged and unplugged often which can be hard on several types of Electric Bike Battery Connectors. After all, they arc and cause a spark.
How to choose the right electric bike battery connector?

It can be difficult and confusing to choose the right connectors for an electric bike battery. IT REALLY can be critical for a person who is new to the electric bike industry. Pay attention to convenience, reliability, durability, water resistance level, size, and price when considering the connector. There are some points mentioned below that can be useful while choosing a connector for any e-bike.
Current Rating: It gets a bit confusing in the 15A, 30A, and 45A versions of the connector, but they are all identical and interchangeable. The only difference is the wire size for the pin crimp, and a heavier gauge wire can naturally handle higher currents
Crimping vs Soldering: Another benefit is that pins can be crimped for a fast and reliable connection, or soldered if you don’t have or want to pay for a crimping tool.
Pin Detent: There are both standard and high detent pins available, which refer to the profile of the pin curvature. The high detent pins have a steeper angle on the back mating surface, which holds them together with greater force against small tugs and vibration.
Retention Pins: In situations where the cable connector can get tugged apart, Anderson also offers retention pins that snap in the holes between mated connectors and prevent them from being pulled apart.
Does the number of pins affect the battery?
There are various pins available like a 2 pin e-bike battery connector or 3 pins e-bike battery connector, similarly, there is a four-pin connector for an electric bicycle battery also. If you are not sure about the number of pins then go with the given manual while choosing a battery connector.
Best offers Available
Classification of EV battery connectors
Many types of connectors are used in electric bicycle systems, but no real standardization on connector type or pins. Some of them are mentioned in the below list:
1) Genderless: most of the connectors have separate female and male plugs. This means only one pin and housing is required, and you don’t have the confusion that the male is positive on one connector and the female on the mate and vice versa. It allows you to use the same plug both in the source and as a load.
2) Stackable: the housing has dovetail slots to stack side by side for making multipin connectors. So whether you have 2 pin ev battery connector, 3 pin e-bike battery connector for the motor phase wires, a four-pin connector for an electric bicycle battery, or 6 pins for a parallel battery harness, you’ll be able to build up a connector block of suitable size by stacking the individual housings together.
3) Separate Making and Connection Contacts: There is a large spark that occurs whenever a connector with battery voltage is plugged into a motor controller, the pitting occurs at the tip of the connector pin, but as the connectors engage the contact point slides to a bump further back, ensure that there is clean and unpitted metal conducting
How to change the EV battery connector?
All one has to do to change a battery connector is crimp on and/or solder the pins from scratch. There are some steps that you can follow:
Step 1: Cut off the old connector: There should be a few inches of wire on the connector so it can easily be soldered onto the new wire.
Step 2: Remove the new connector: Next, cut off your new throttle’s connector.
Step 3: Strip wires: Strip wires about 1/8″ to 1/4″ on both throttle wires and the connector wires.
Step 4: Tin wires: coat the bare ends of the wires with solder.
Step 5: Add heat shrink tubing: The tubing is wrapping the connection with electrical tape, but it’s better to use real heat shrink tubing. Heat shrink covers and isolates electrical connections from one another and is very important for bike connections.
Step 6: Make your connections: To join the two wires, simply align one next to the other with the length of the bare wire overlapping. Then apply the soldering iron to both wires simultaneously. The solder will melt and join the two wires together. It is done once the heat shrink is sealed.
Conclusion
There are different components in electric bikes like throttles, motors, and batteries. The e-bike battery connector types usually come with some type of plastic electrical connector at the end of the wire. These connectors plug into the bike’s controller and make it easy to connect everything. In theory, these connectors would also make it easy to remove a component and swap another in its place.


