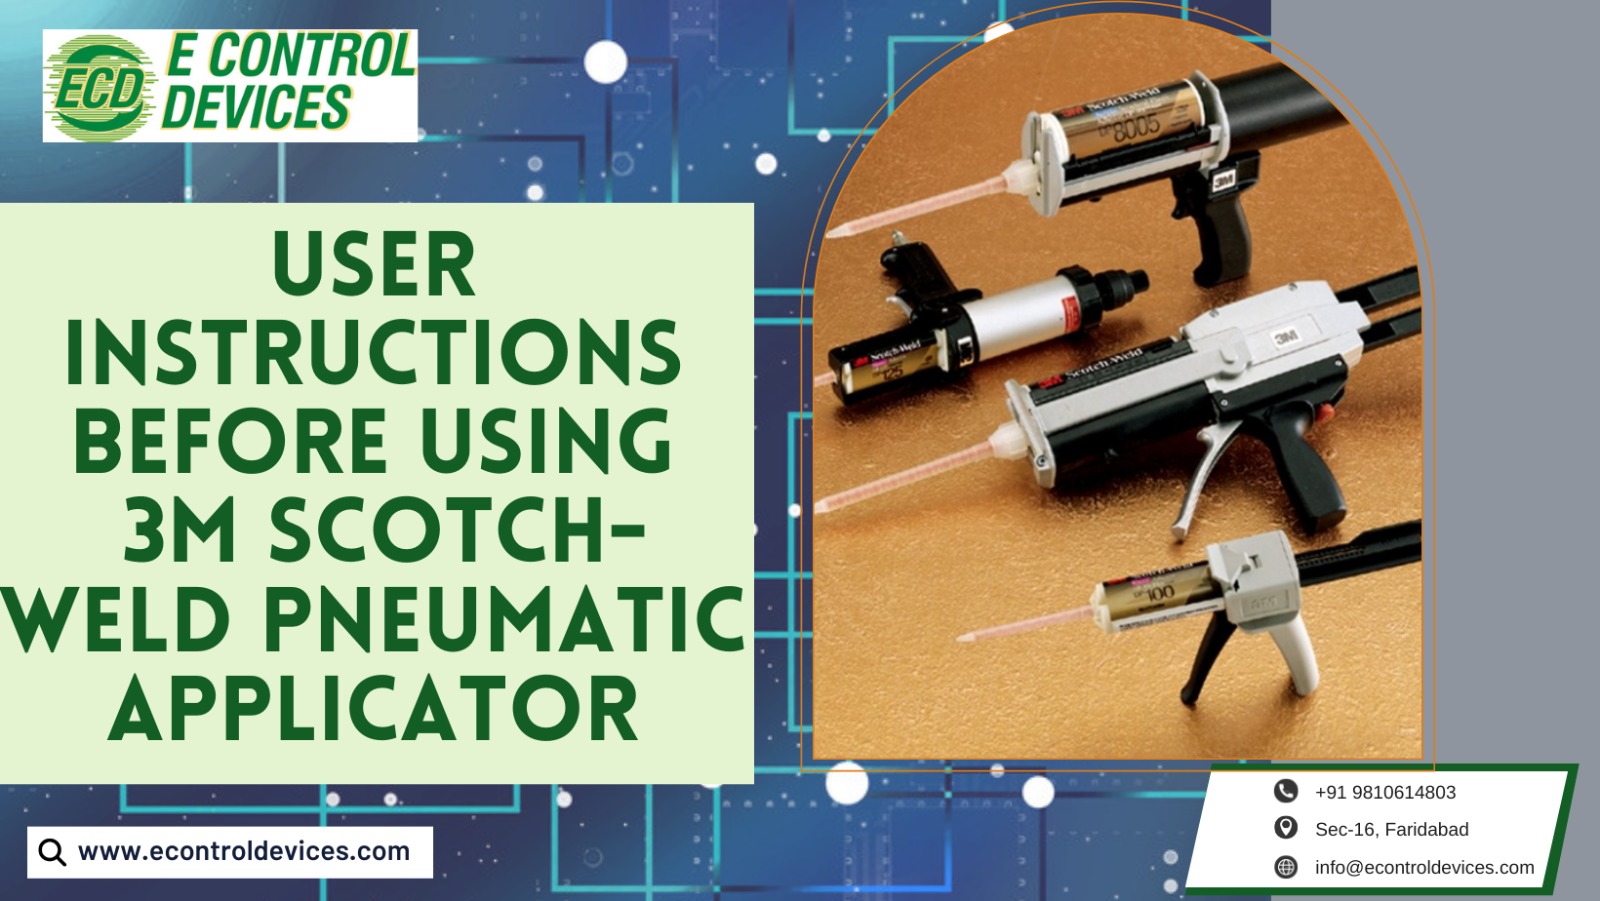
Understanding user guidelines is paramount to unlocking the full potential of the 3M Scotch-Weld Pneumatic Applicator. These guidelines provide essential information and instructions that enable users to achieve optimal results, maintain safety, and prolong the lifespan of the applicator.
If you have recently acquired this powerful tool or are considering using it for your adhesive applications, you have come to the right place. This blog aims to provide you with essential user guidelines that will enable you to harness the full potential of this pneumatic applicator while ensuring safe and efficient operation.
The 3M Scotch-Weld Pneumatic Applicator is a powerful and versatile tool designed to simplify and enhance the process of adhesive application. Developed by 3M, a renowned leader in adhesive technology, this pneumatic applicator offers precision, efficiency, and reliability in various bonding applications.
What is a 3M Scotch-Weld Pneumatic Applicator?
At its core, the 3M Scotch-Weld Pneumatic Applicator functions as a handheld device that dispenses adhesives under controlled pressure. It utilizes pneumatic power, relying on compressed air to drive the adhesive through the applicator and onto the desired surface. This pneumatic mechanism ensures consistent and uniform adhesive distribution, resulting in strong and durable bonds.
The applicator is constructed with robust materials to withstand the demands of industrial settings, making it ideal for a wide range of applications. From woodworking projects to industrial assembly, packaging, and more, the 3M Scotch-Weld Pneumatic Applicator excels in providing efficient and reliable adhesive bonding.
How to set up the applicator?
Setting up the 3M Scotch-Weld Pneumatic Applicator correctly is essential for smooth and efficient operation. Follow these step-by-step instructions to ensure a successful initial setup.
- Inspect the applicator for any visible damage or loose parts.
- Attach the air hose to the applicator securely, ensuring a tight connection.
- Before connecting the air supply, ensure the air pressure matches the recommended range specified in the user manual.
- Once the pressure is adjusted, connect the air supply to the applicator, taking care to avoid kinks or twists in the hose.
- Confirm that all connections are secure before proceeding.
Proper handling and attention to detail during setup will pave the way for a trouble-free adhesive application process.
How to ensure safety while using the 3M Scotch-Weld Pneumatic Applicator?
Safety is paramount when working with pneumatic tools, and the 3M Scotch-Weld Pneumatic Applicator is no exception. Understanding and following proper safety guidelines is crucial to protect yourself and others during operations. When using the applicator, it is essential to adhere to specific safety measures.
- Always ensure the applicator is disconnected from the air supply when not in use.
- Avoid pointing the applicator at yourself or others, as the compressed air can cause injury.
- Wear appropriate personal protective equipment (PPE) such as safety glasses, gloves, and ear protection to safeguard against potential hazards.
- Prioritizing safety will ensure a secure and productive experience with the pneumatic applicator.
How to operate the applicator?
Operating the 3M Scotch-Weld Pneumatic Applicator effectively is crucial to achieving precise and consistent adhesive application. Follow these step-by-step instructions for optimal results.
- Ensure the applicator is securely connected to the air supply.
- Then, load the desired adhesive into the applicator’s reservoir.
- Adjust the air pressure to the recommended level for your application.
- Next, position the nozzle at the desired location and activate the trigger to dispense the adhesive.
- Maintain a steady and controlled motion while applying the adhesive, ensuring even coverage.
- Practice consistent speed and pressure for uniform results. Remember to release the trigger to stop the adhesive flow.
By following these techniques, you will master the art of achieving precise and consistent adhesive application with the applicator.
Troubleshooting Tips
When working with the 3M Scotch-Weld Pneumatic Applicator, it is important to be aware of common issues and challenges that may arise. These can include uneven adhesive flow, clogging, or difficulties with air pressure. Recognizing these problems early on can save time and frustration in your adhesive application process.
To overcome these problems, here are some troubleshooting steps to consider.
- Ensure that the adhesive cartridge is properly inserted and aligned.
- Check for any clogs or debris in the applicator nozzle and clean it if necessary.
- Adjusting the air pressure settings or checking for any leaks in the air supply system can also help address uneven flow issues.
- If problems persist, consulting the user manual or contacting 3M’s customer support can provide further guidance and assistance.
How to store and handle the applicator?
Adhesive storage and handling play a crucial role in maintaining the quality and usability of your adhesive products. To ensure optimal performance, it is essential to follow best practices when storing adhesives.
- Store them in a cool, dry place, away from direct sunlight and extreme temperatures.
- Properly sealing containers and avoiding exposure to air and moisture can prevent premature curing or degradation.
- When handling and applying adhesives, take precautions such as wearing gloves and eye protection to protect yourself from potential skin irritation or accidental contact with your eyes.
- Follow manufacturer instructions for application techniques and always clean tools and surfaces promptly to prevent adhesive buildup.
How do Econtrol Devices cater to the needs of its customers?
For a wide range of top-quality pneumatic devices and accessories, including the 3M Scotch-Weld Pneumatic Applicator, visit EControl Devices. They offer reliable products that can enhance your adhesive applications and take your projects to the next level. Don’t miss the opportunity to explore their offerings and upgrade your tools. Take action now and unlock the full potential of your adhesive bonding endeavors with EControl Devices.

